Desk organisation
Under-desk cable management without drilling
Hiding cables and organising them are different jobs. A useful setup lets you unplug your laptop, reach an adapter and move the desk without pulling on a connector.
Türkçe oku ↗
Map the devices and routes first. Group permanent connections, keep everyday cables accessible and leave adapters ventilated. Check surface compatibility before fitting clamps or adhesive clips.
Map the connections first
Switch devices off and disconnect power before reorganising the wiring. Follow each cable from one end to the other: monitor, computer, lamp, phone and accessories. Remove unused leads instead of finding somewhere to hide them. A photograph of the working setup can help when several connectors look alike.
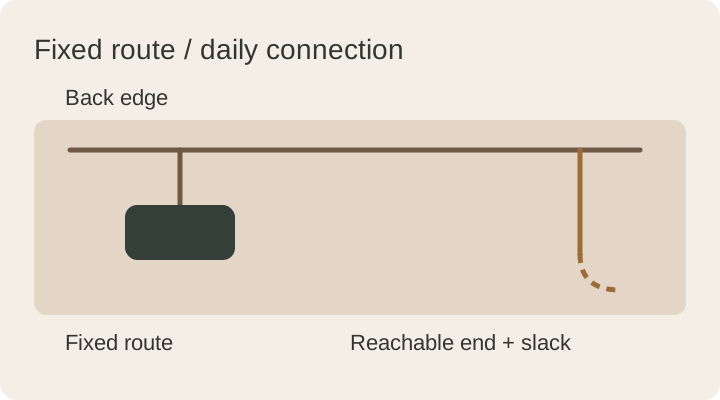
Use matching labels at both ends. Simple names such as “monitor” and “phone” are more useful here than a long technical description. Separate cables that stay connected from those you unplug every day; they need different routes.
Choose each tool for a specific job
| Tool | Useful for | Check first |
|---|---|---|
| Reusable ties | Grouping cables along one route | Do not crush the cables |
| Cable clips | Keeping a charging end within reach | Cable diameter and surface compatibility |
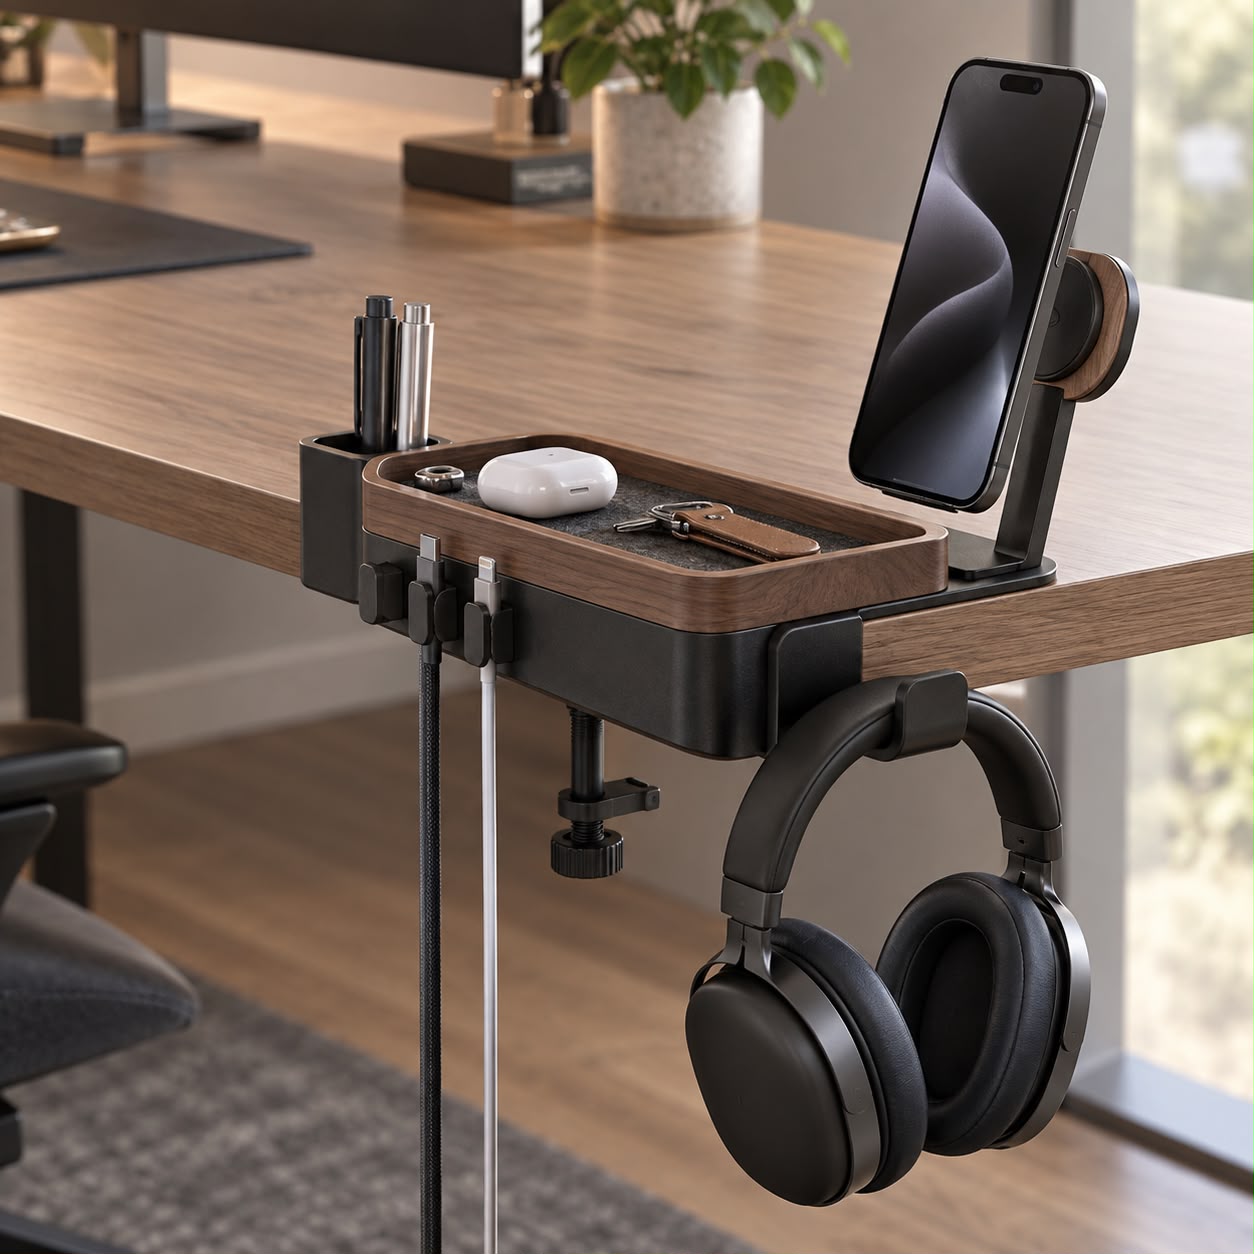
| Open under-desk tray | Lifting suitable equipment off the floor | Load limit, ventilation and access |
| Cable sleeve | Collecting fixed connections | Keep frequently removed cables separate |
No-drill installation does not guarantee mark-free removal. Adhesives may affect paint or finishes, and clamps can put pressure on unsuitable tops. Check both manufacturers’ instructions, especially for glass or thin surfaces.
Use the back edge as a route
Take cables towards the back or side of the desk, then towards the power point. Avoid the front working edge and the space where your feet move. One clear route can be easier to maintain than a separate hiding place for every cable.
Leave laptop and phone connectors within easy reach. Fixed monitor connections can stay at the back. Before fitting a tray, push your chair in and check the space your knees need.
Leave room for movement
Consider what happens when the monitor arm turns, the lamp moves or the desk is pulled away from the wall. Leave the slack specified by the equipment manufacturer. On a height-adjustable desk, check for pulling and pinching throughout the heights you use.
Do not force spare cable into sharp bends next to a connector. The connector should not carry the load when the desk moves. Sometimes an appropriately shorter cable is simpler than another storage box.
Keep power equipment accessible
Do not cover adapters or power strips with fabric, paper or enclosed decorative boxes. Keep ventilation openings clear and follow the equipment’s power and load limits. Do not daisy-chain power strips to expand the setup. Stop using damaged, crushed or unusually hot equipment and leave electrical installation work to qualified people.
This guide concerns the routing of existing suitable equipment, not electrical installation. Check that clips, screws and clamps cannot press into a cable.
Try five everyday movements
- Sit down and stand up without catching a cable.
- Pick up the phone and check that its charging end stays accessible.
- Disconnect the laptop without dismantling other connections.
- Move the lamp and monitor through their normal range.
- Reach each adapter without taking the whole setup apart.
Revisit loose clips and awkward routes after the first week. A good system adapts when your equipment changes. Combine it with the working zones in our small-desk guide.
This guide was prepared for DESKIND with AI assistance. Refer to the linked sources and your device manufacturer’s current instructions for technical details. Adapt layout suggestions to your own space.
Have a correction or question? Contact us.